Exporting Images
Once you are done editing and processing your film images you want to export them to look at and share your photos.
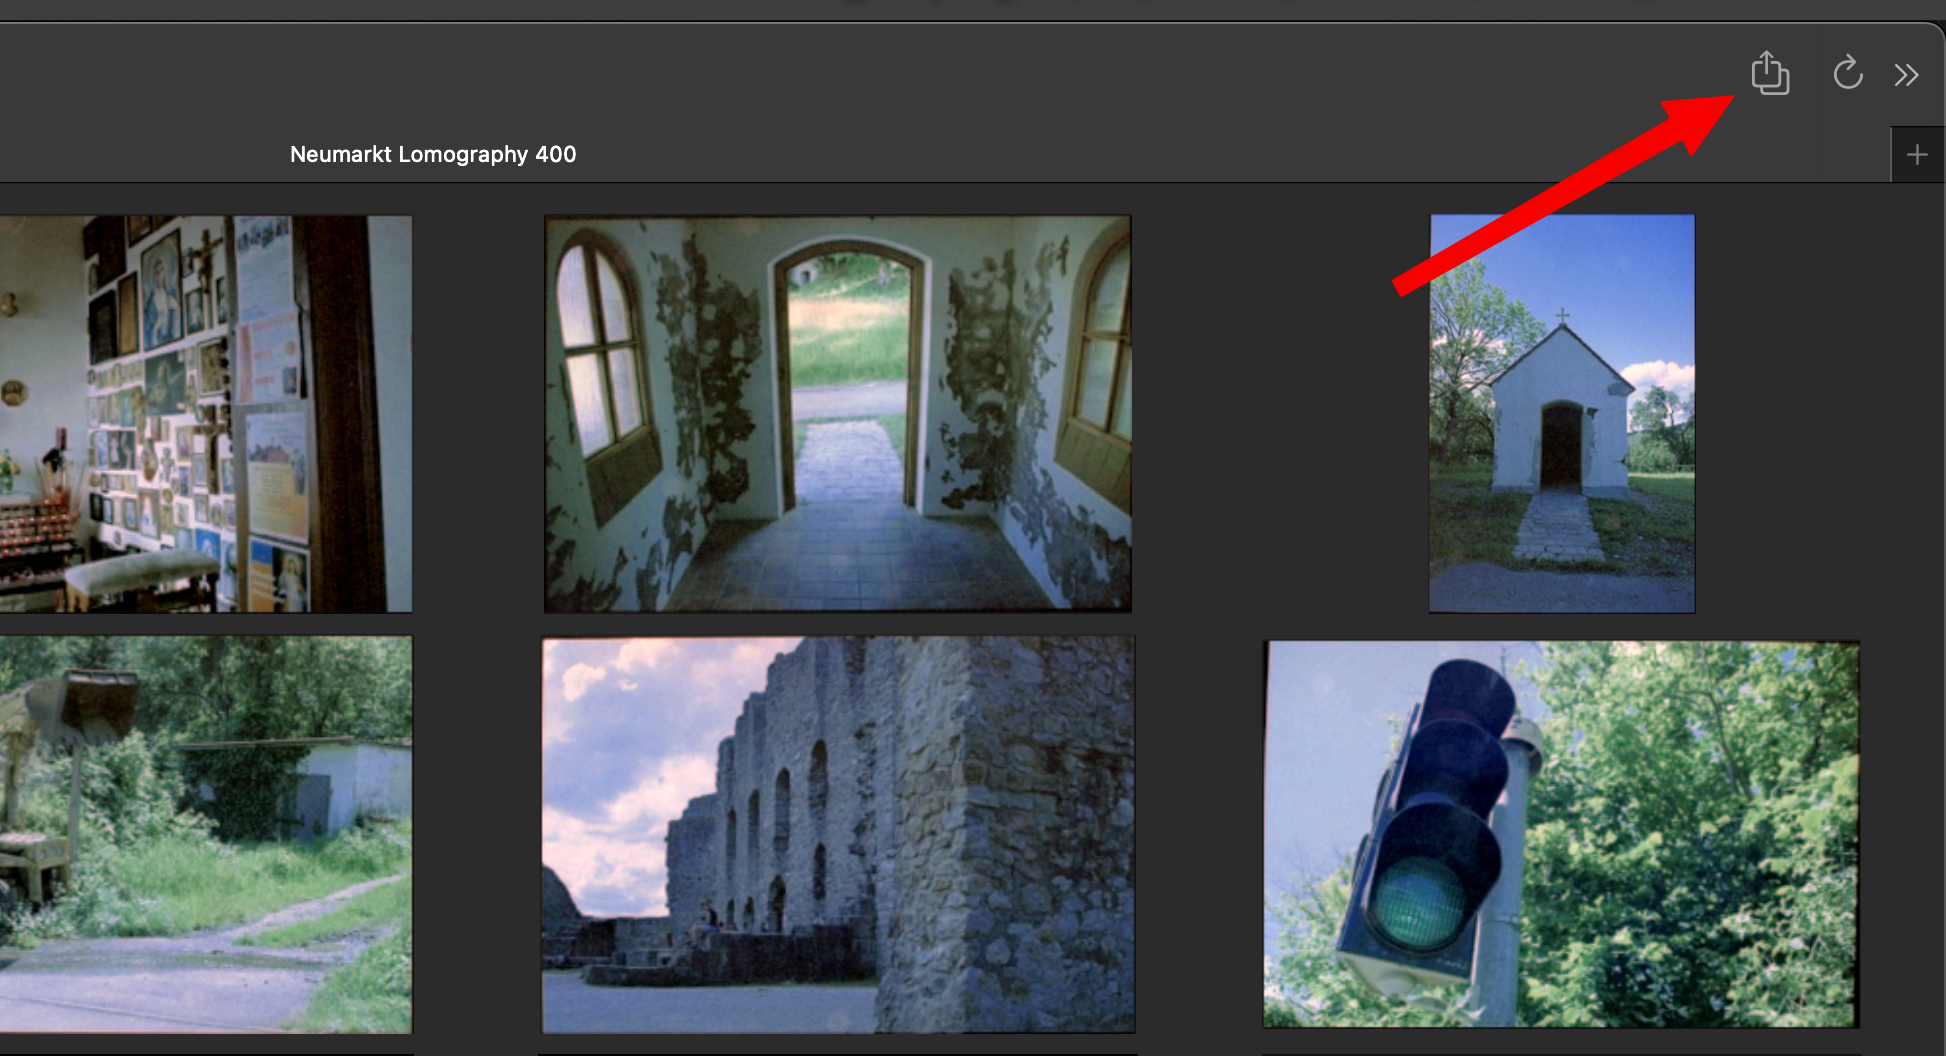
Exporting is done from the gallery by clicking the export button or using the shortcut ⌘E. Only images form the currently displayed gallery can be exported.
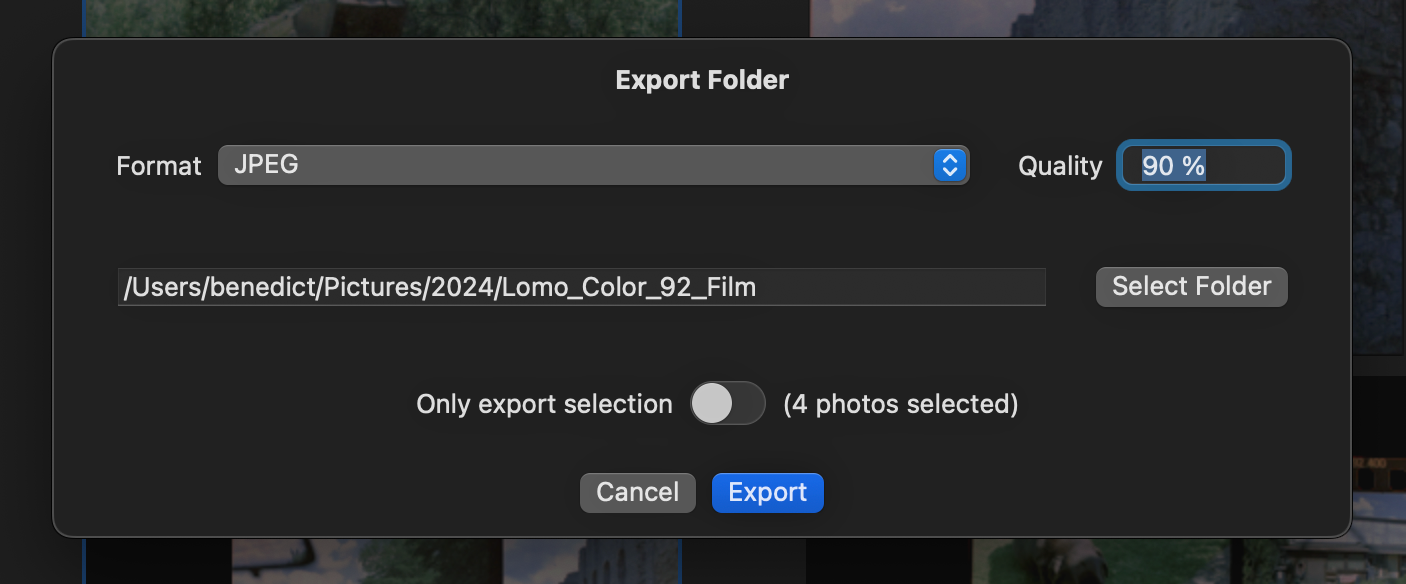
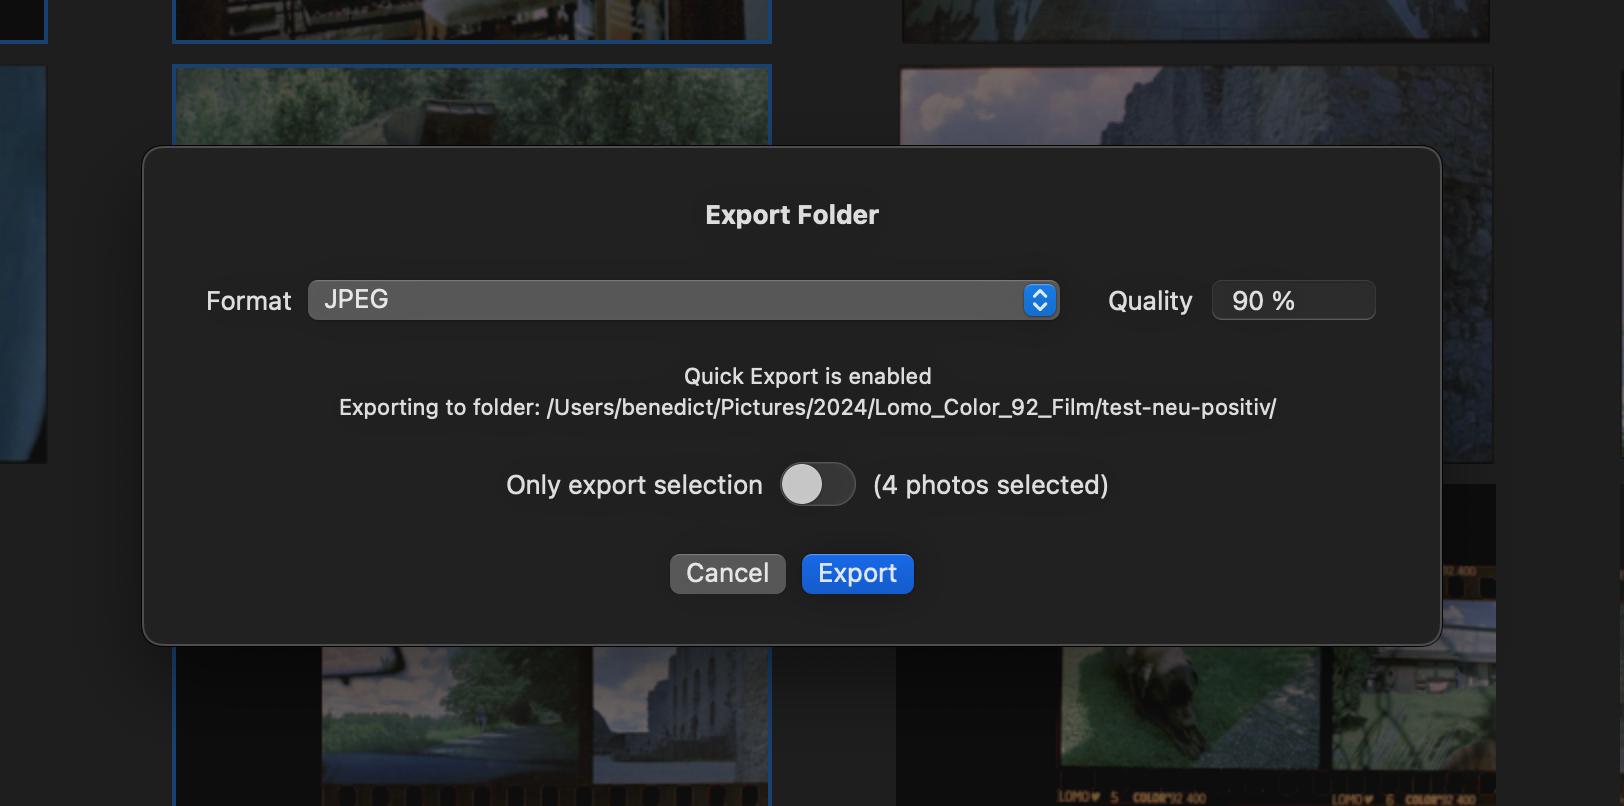
After hitting the button the export dialogue opens that offers different options for the export:
- Export Format: See Image Formats
- If JPEG is selected: Quality in Percentage
- Path for the exported images with a folder selection button
- Option to only export the selected images
After clicking “Export” the images get exported. This may take a while. The progress bar at the bottom indicates how far the export is.
At the end your exported images can be found at the selected location.
Export Preferences
In the preferences windows (⌘,) there are multiple important settings for the image export that can help to speed up your workflow:
- Default JPEG Export Quality: Instead of choosing the JPEG export quality every time you export your images you can set a preferred default. In the export dialogue the default can always be overridden.
- Default Export Postfix: Images have to get an export postfix. This postfix gets appended to the filename of the original image. This postfix can be selected with this option. The field can not be empty.
- Default for Export of Photo Selection: This toggle decides if the option to only export the gallery selection is on by default.
“Quick Export”
With “Quick Export” GrainForge allows you to streamline the export of your galleries by removing the need for selecting and creating folders on your disk where your exports land. The feature can be activated from the preferences (⌘,) at the top of the “Export” tab.
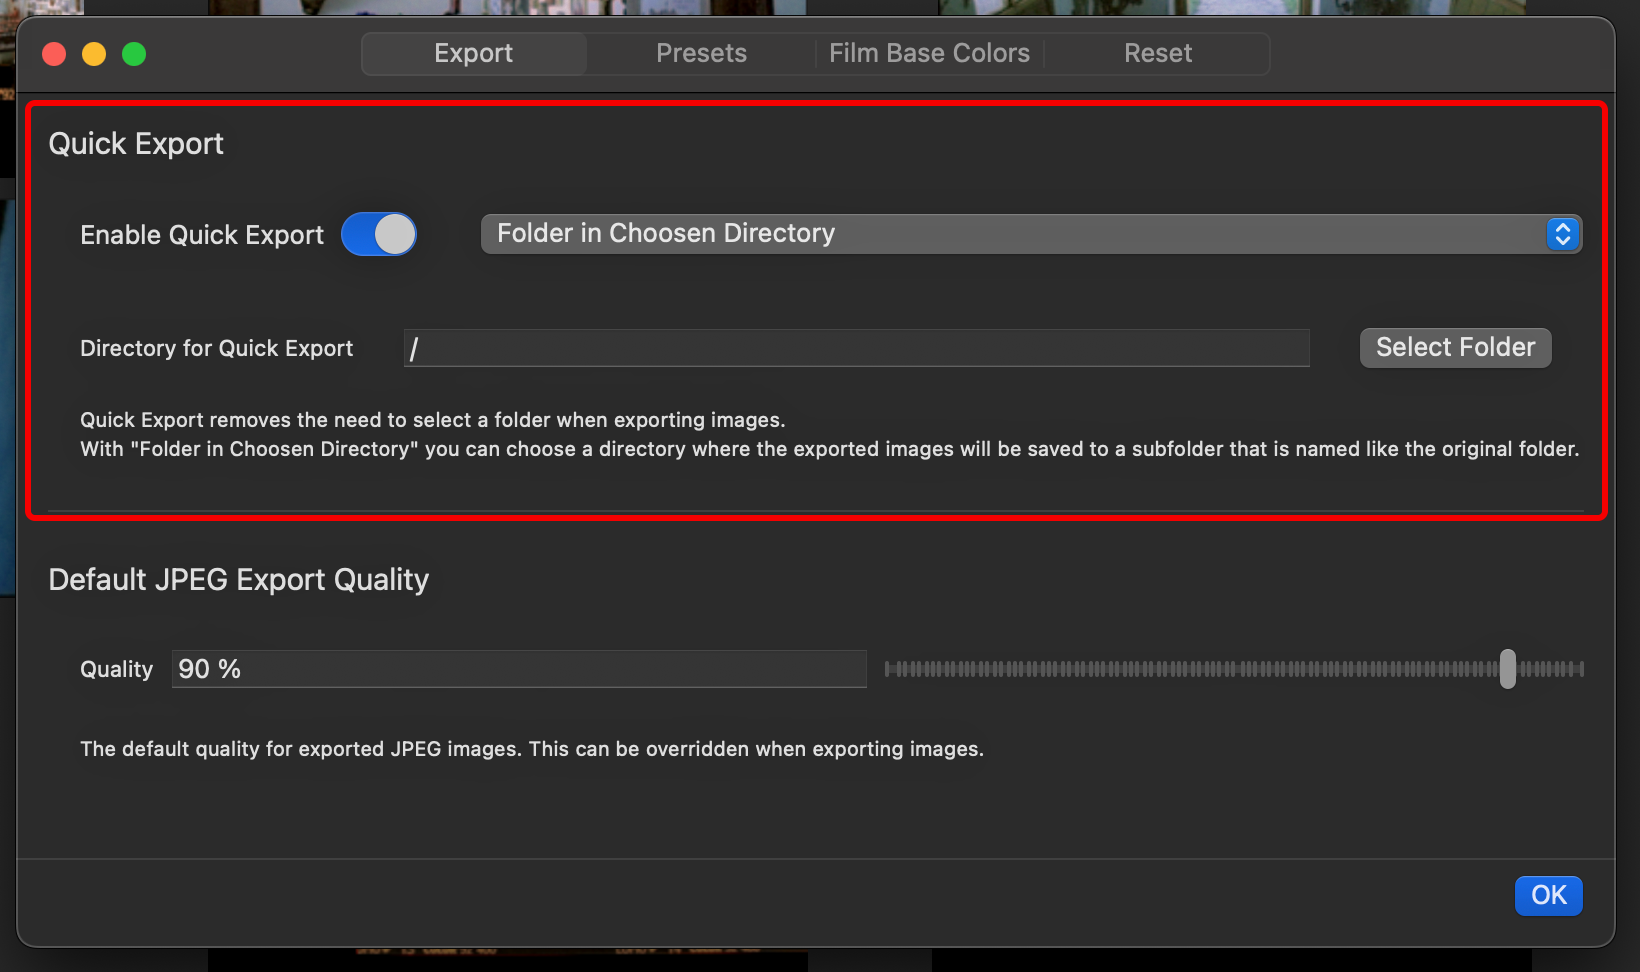
“Quick Export” knows three operating modes:
- Subfolder in Original Directory: A subfolder with the given names gets created/used in the folder of the gallery (added folder). In this folder the images get exported to.
- Folder in chosen Directory: A subfolder with the folder name of the added folder is created in a chosen directory. In this folder the images get exported to.
- In Original Directory: No folders are created. The exported images get saved to the original added folder. Exported images can be identified by the postfix.
When “Quick Export” is enabled you can no longer chose an export directory for your images in the export dialogue. The target folder of “Quick Export” gets displayed instead in the dialogue.
Name Conflicts
When an image that gets exported gets the same name as an existing file in the target folder the existing file gets overridden. Keep this in mind!