Preset Management
Central to the workflow within the application is the creation of presets. Presets are edit templates saving all edit parameters except the crop of an image.
The workflow for using presets works as the following:
- Edit an example image for your preset.
- Save the preset from the edit view.
- Apply presets…
- for a single image (within the edit view).
- within the gallery (see Gallery: Applying Presets).
- Override presets.
- Delete presets (see Data Management: Presets)
Save and Override
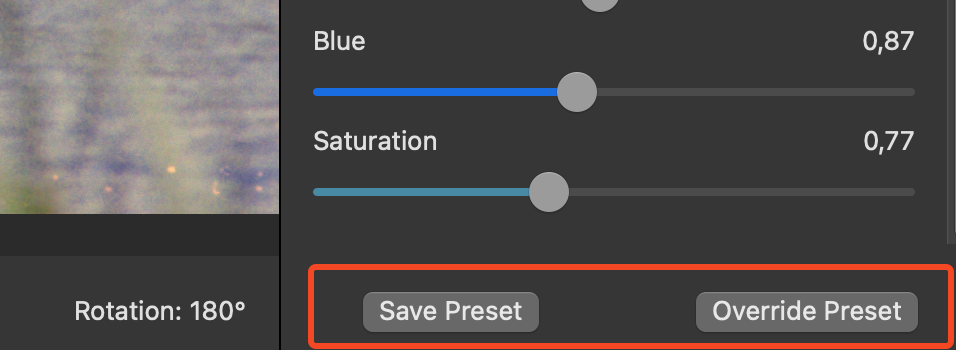
On the bottom of the edit bar a preset can be saved. A new preset needs a name. The name has to be unique otherwise an error message appears. The saved preset takes all currently active edit parameters of the current image.
If a Preset needs to be changed it can be overridden. When hitting “Override Preset” you need to choose a preset to override. All preset parameters except the name get overridden.
All saved presets can be looked at in the preferences dialogue (⌘,) under the tab “Presets”.
The standard preset “No Preset” that defaults all values can not be managed and is always applicable.
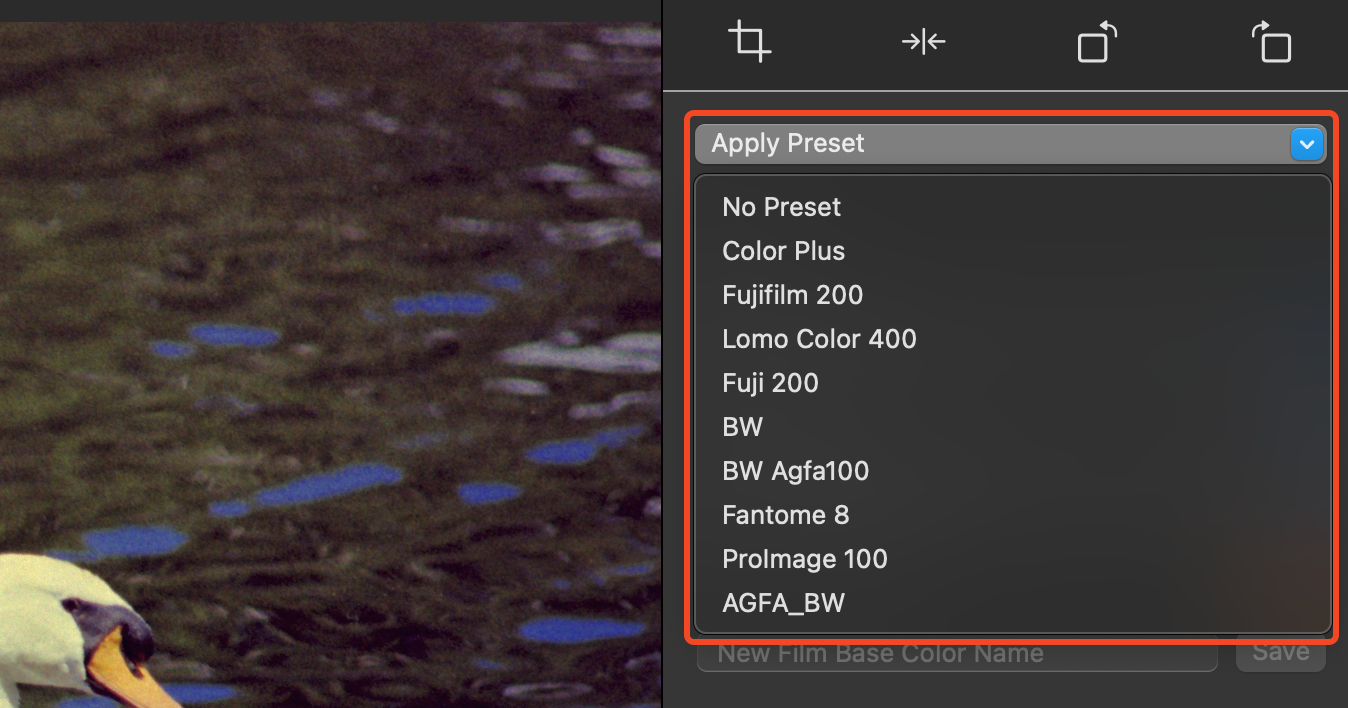
Applying Presets
Presets are applicable to multiple images in the gallery (see Gallery: Applying Presets). Within the normal image edit a preset can be applied to the singular image. The option is available with a drop-down on the very top of the edit options on the right of the view. Newly saved presets will be available right away.